 Design guide
The design of Listing Pages and Form Pages is the biggest difference between Ragic and other spreadsheet software, and it is a key concept for using Ragic.
Listing Pages: Display an overview of multiple records at a glance, making it easy to browse and compare. Click a record to open its Form Page for details.
Form Pages: Display all the fields for a single record, allowing users to view and edit the complete information.
The Listing Page and the Form Page are two sides of one sheet. Data added on either side will be synced to the other. When entering the sheet, you will first see the Listing Page. Clicking on a record will lead you to the Form Page for detailed information.
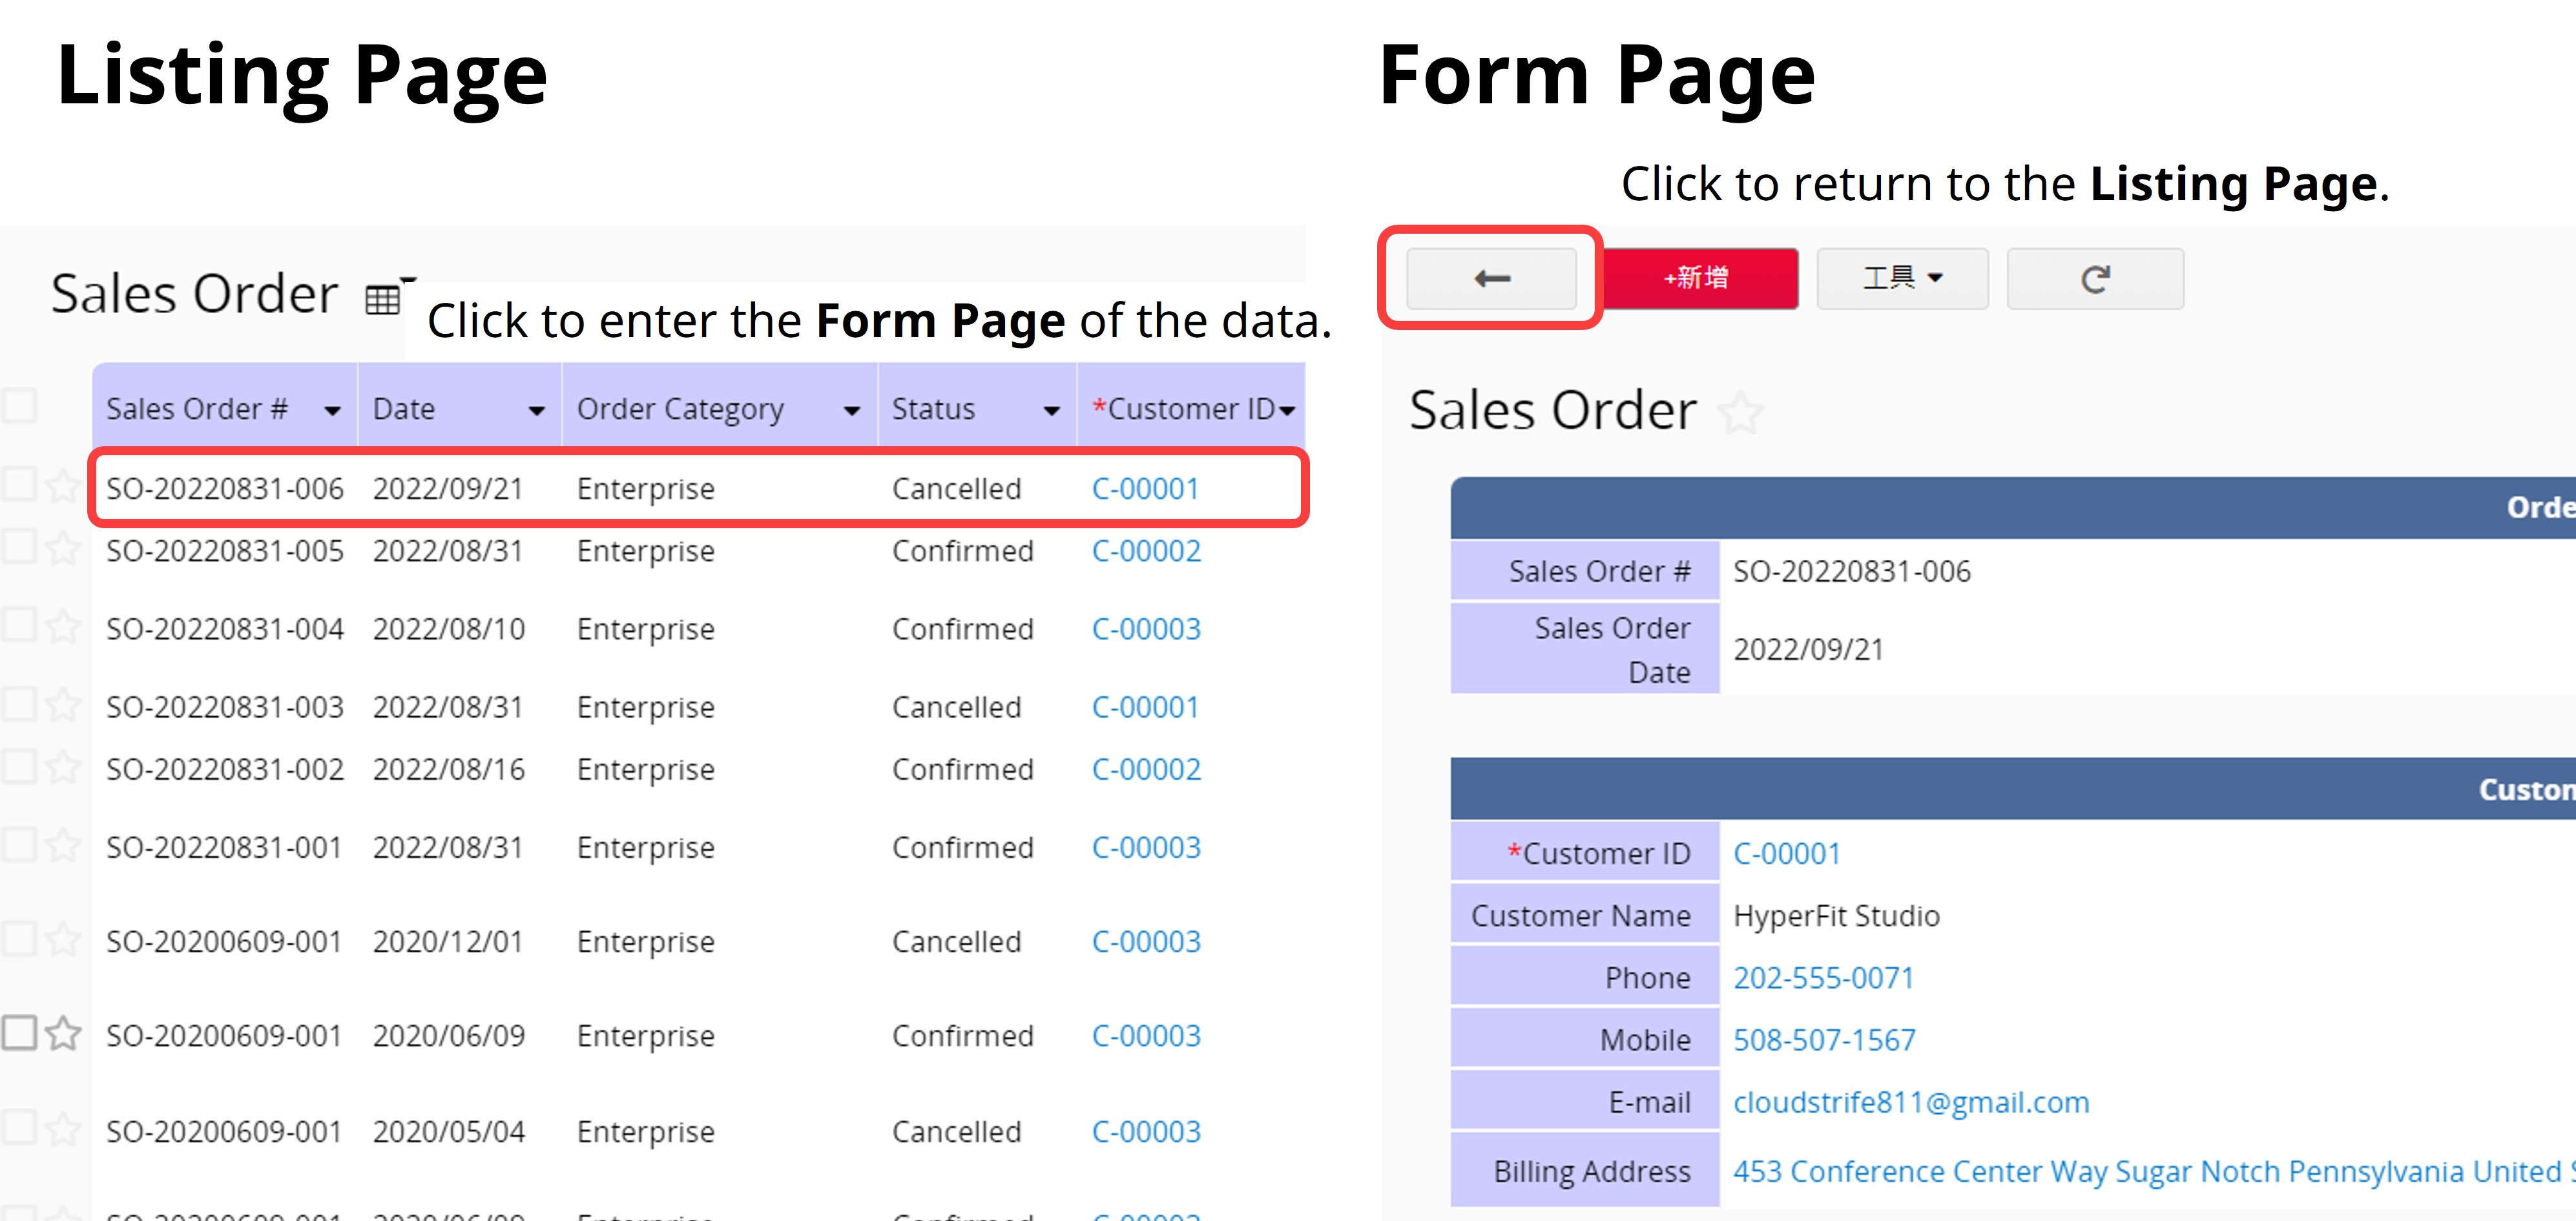
In the example below, when you enter the "Sales Order" sheet, it will lead you to the Listing Page. From there, you can browse multiple sales orders. Clicking on one of the records will take you to the Form Page for detailed information.
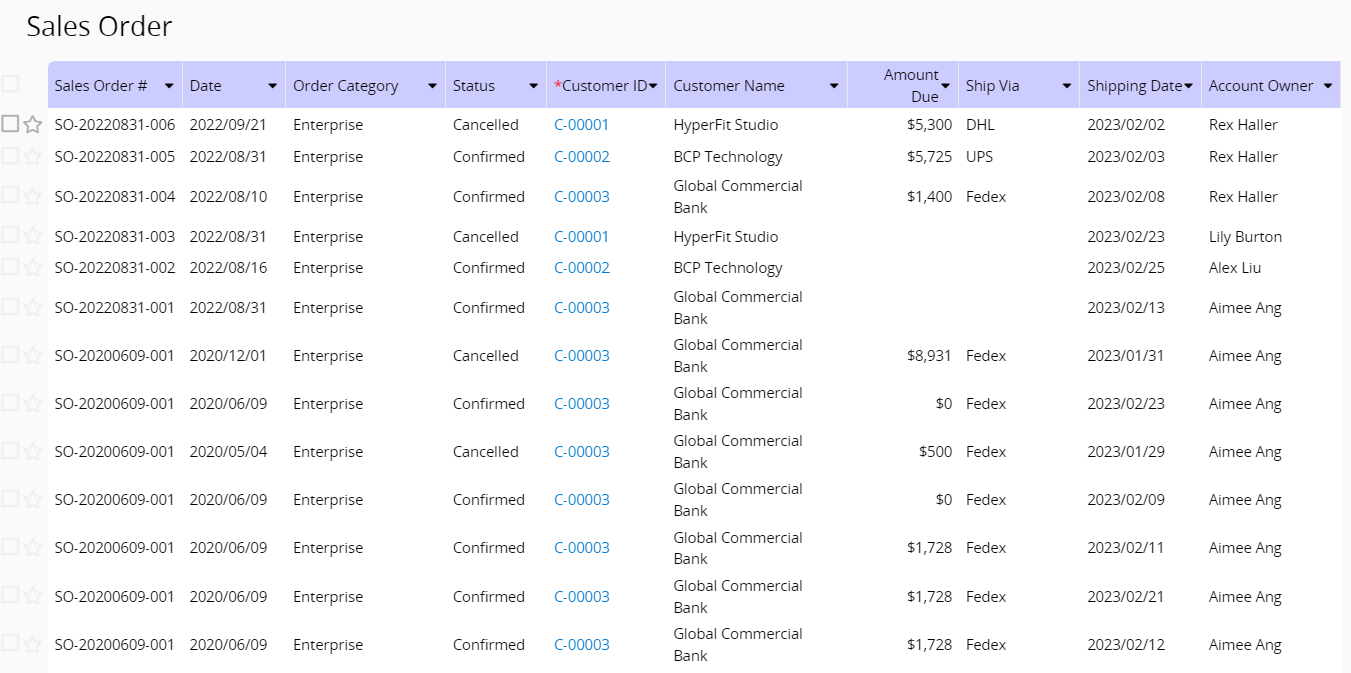
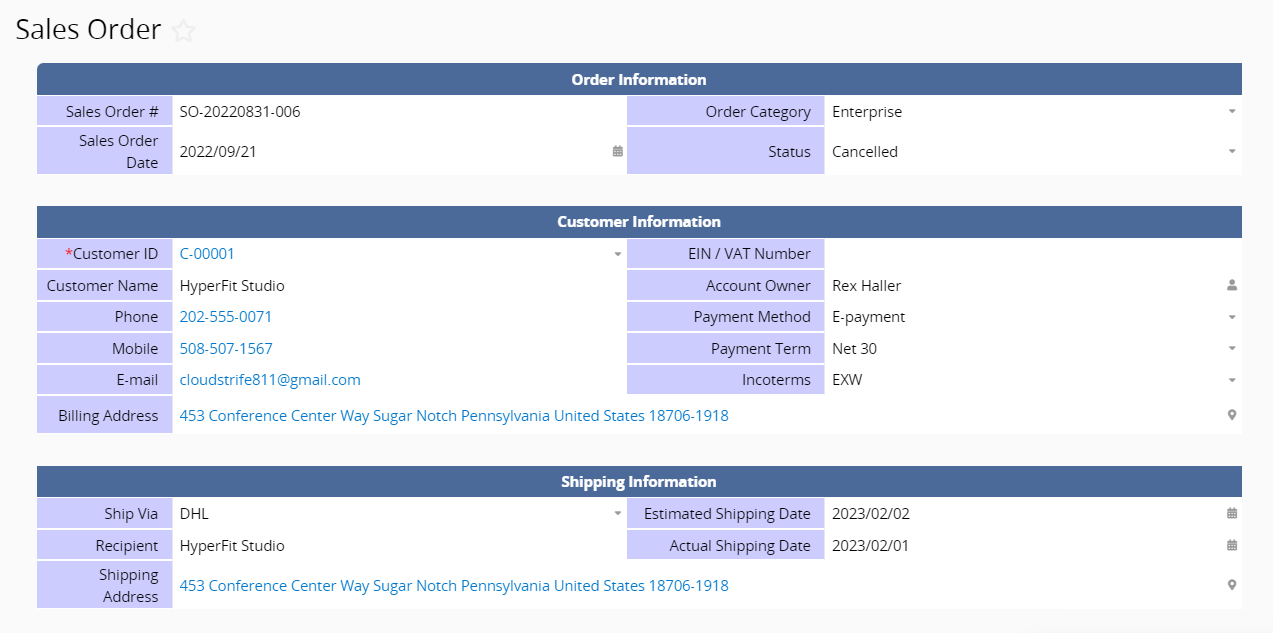
The following sections introduce the Form Page and Listing Page in Design Mode.
When creating or modifying a sheet design, you start from the Form Page (for the complete steps to create a new sheet, please refer to Creating a Ragic Sheet).
To access the Form Page Design Mode, click Change Design on the Form Page.
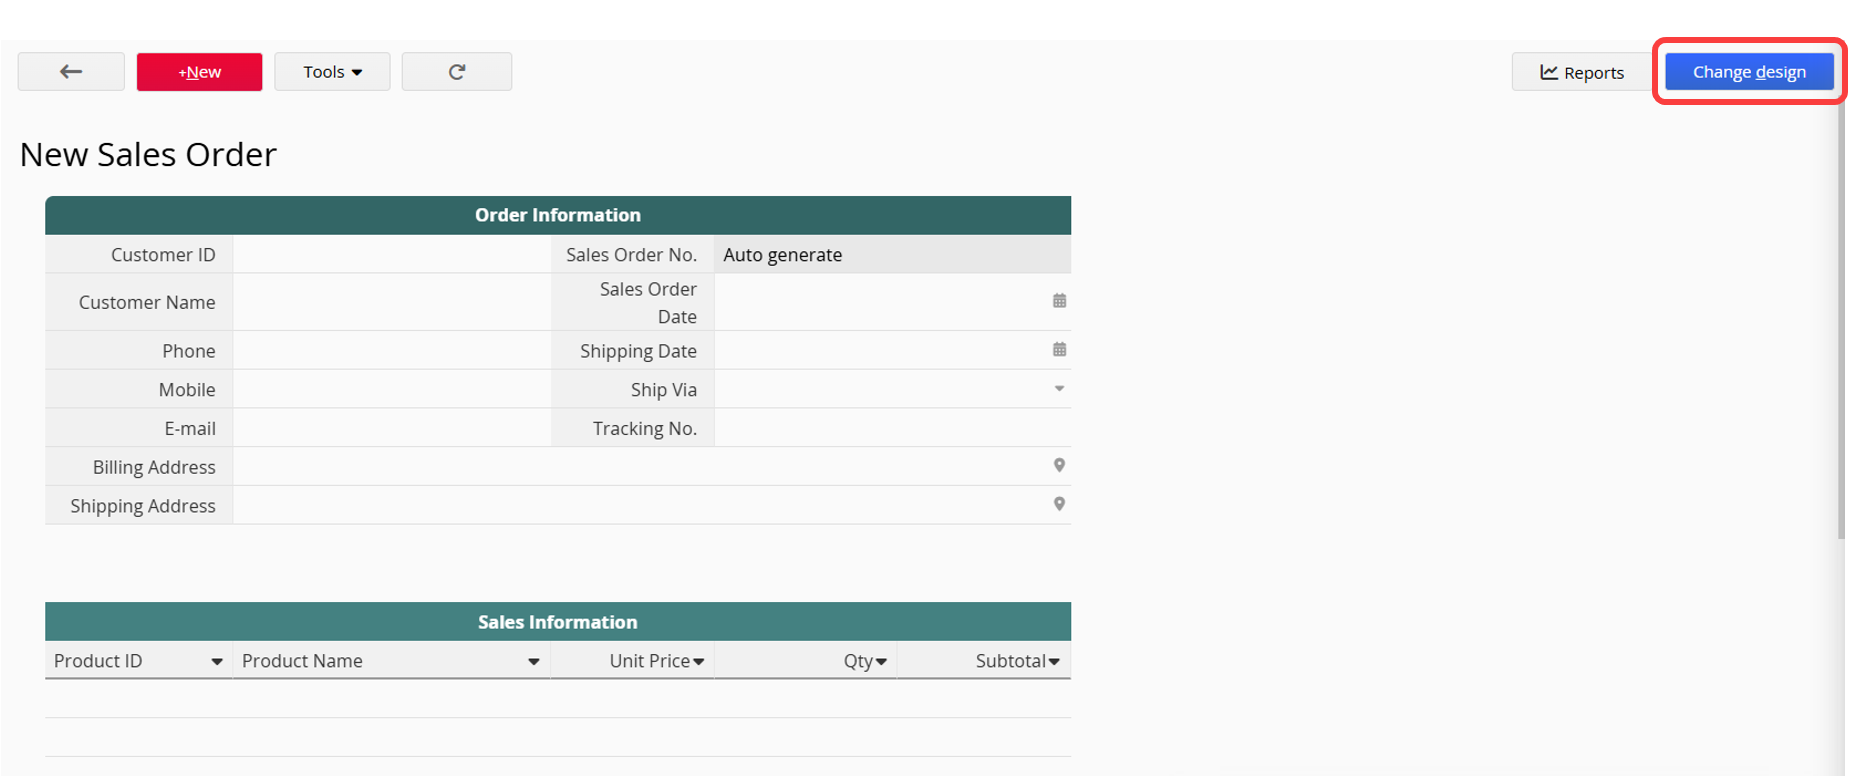
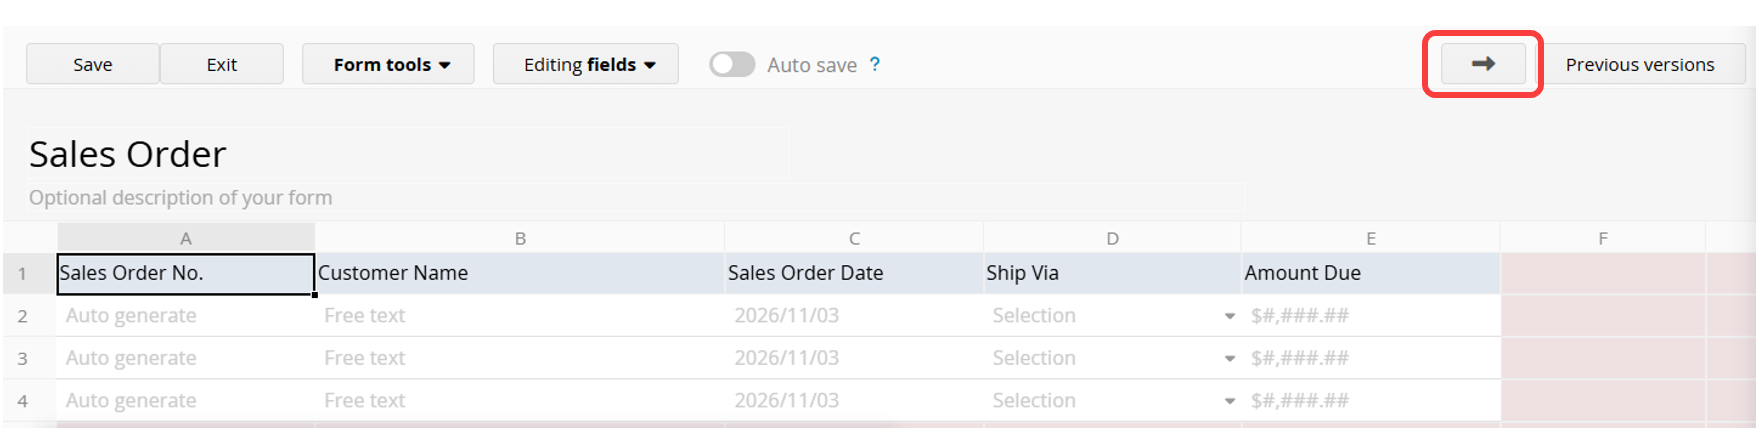
While in the Listing Page Design Mode, click the arrow at the top-right corner to access the Form Page Design Mode.
Type text directly into any cell where you want to place a field to create an independent field. The field headers of independent fields must be arranged vertically, and there must be at least two independent fields to save the design.

Arranging field headers horizontally creates a Subtable. The Form Page cannot contain only Subtables; you can create Subtable fields only after independent fields have been created.
Future design changes or advanced features should be configured on the Form Page, including adding or deleting fields, adjusting field formatting, applying Formulas, and setting up Approval flows or Action Buttons.
When creating the sheet, there is usually no need to design the Listing Page separately. When you save the Form Page for the first time, the Listing Page will be automatically generated. The system will determine which fields are suitable for the Listing Page based on the sheet name and will automatically adjust the column widths accordingly.

If needed, you can enter Design Mode to make adjustments. The Listing Page will only have one table, with the column headers arranged horizontally.

To access the Listing Page Design Mode, click Change Design on the Listing Page.

While in the Form Page Design Mode, click the arrow at the top-right corner to access the Listing Page Design Mode.

On the Listing Page, you can adjust layout settings such as field order and displayed fields, while key features are configured on the Form Page.
Note:
1. Please do not add fields outside of the first row.
2. If you leave the Form Page too quickly after saving the sheet for the first time, the system may not have time to adjust the Listing Page automatically, and all fields will be placed on the Listing Page. In this case, please refresh the page and adjust the Listing Page as needed.
In the Listing Page Design Mode, you can use the Listing Page Field Picker to decide which fields will appear on the Listing Page and their order. If there are numerous fields, use the filter tool at the top to find the desired fields.

"Gray-background fields" within the Listing Page Field Picker are automatically generated by the system. You can also add them to the Listing Page if needed.
Note: When you enter the Listing Page Design Mode, the Listing Page Field Picker opens automatically. If you close it, click the icon at the bottom-right corner to reopen it.

If you modify field names on the Form Page that also exist on the Listing Page, the system will ask whether to sync these field names when you save.

Note: If you choose not to update these field names, the system will not show this message again the next time you modify the same field names.
To get clearer concepts of Listing Pages and Form Pages, you can refer to the following tutorial video.
 Thank you for your valuable feedback!